DIY Oversized Art: Bold, Easy & Affordable Wall Decor
A large statement piece can change the feeling of a room, but custom oversized artwork often costs far more than most decorating budgets allow. The good news is that DIY oversized art can be bold, personal and achievable without advanced painting skills. This guide shows how to make big wall art from simple paint, fabric, paper and thoughtfully chosen lightweight materials—and how to size and hang it so it actually suits your space.
Quick answer: Choose the wall and approximate finished size before buying materials. For the simplest first project, use a large primed canvas, two acrylic colors and one freehand abstract shape; allow it to dry completely, weigh the finished work and hang it with hardware rated for your wall and the piece. Fabric-wrapped art or a two-panel composition are great alternatives when painting isn’t your thing.
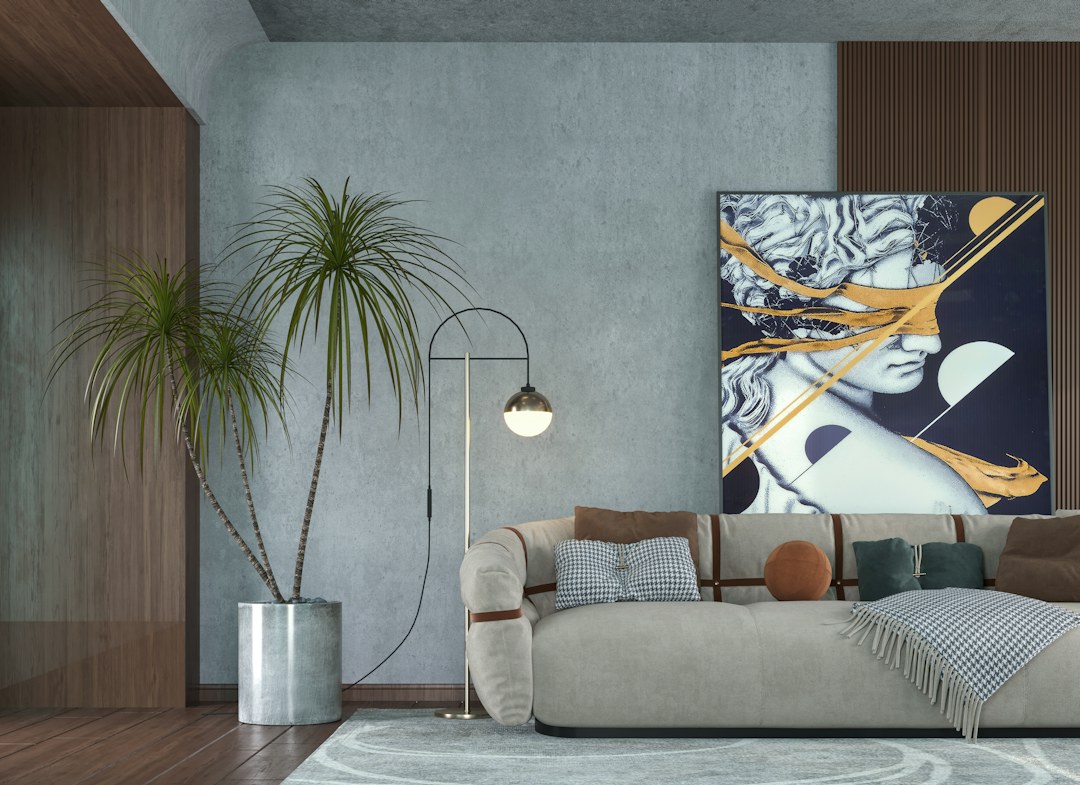
Before You Start: Measure the Wall, Not the Inspiration Photo
An oversized art project succeeds when the scale feels intentional. Measure the usable wall area, including space between windows, lamps and furniture, then decide if you want one horizontal piece, one tall panel or two medium pieces. Above a sofa, a useful starting point is an artwork group about two-thirds to three-quarters of the sofa’s width, but this is a styling guideline, not a safety or design rule. For example, a 78-inch sofa might look balanced with a group around 52–59 inches wide. Try a paper template first and adjust for the real room.
Tape together sheets of scrap paper to the approximate size, position the template temporarily and view it from the doorway and your usual sitting spot. Keep artwork clear of door swings, wall switches and ventilation. Above a bed or sofa, stability and mounting matter more than any aesthetic guideline: use hardware rated for the piece and wall material, and consider professional assistance for heavy work.
If you’re decorating a rental, our renter-friendly wall decor ideas explain how to think about wall finish, permissions and suitable mounting systems. For a whole-room refresh, see our living room ideas worth trying before choosing your artwork colors.
A Simple Materials Checklist for Budget DIY Wall Art
- Choose one base: a primed canvas, lightweight art panel, heavyweight drawing paper or a sturdy wooden stretcher frame.
- Choose one technique: acrylic paint, compatible modeling paste, patterned fabric, collage papers or a licensed print.
- Protect the work area: drop cloth, washable tools, suitable ventilation and manufacturer-recommended protective equipment.
- Plan finishing: measuring tape, level, appropriate fasteners, optional picture frame and the correct wall mounting hardware.
- Keep the design focused: two or three colors, one large motif and enough blank space to let it stand out.
You don’t need everything on this checklist. Select a single project below and buy or reuse only the supplies it actually needs. If making wall art with children, supervise tools and choose materials appropriate to their age and the product instructions.
5 Beginner-Friendly Oversized Wall Art Projects
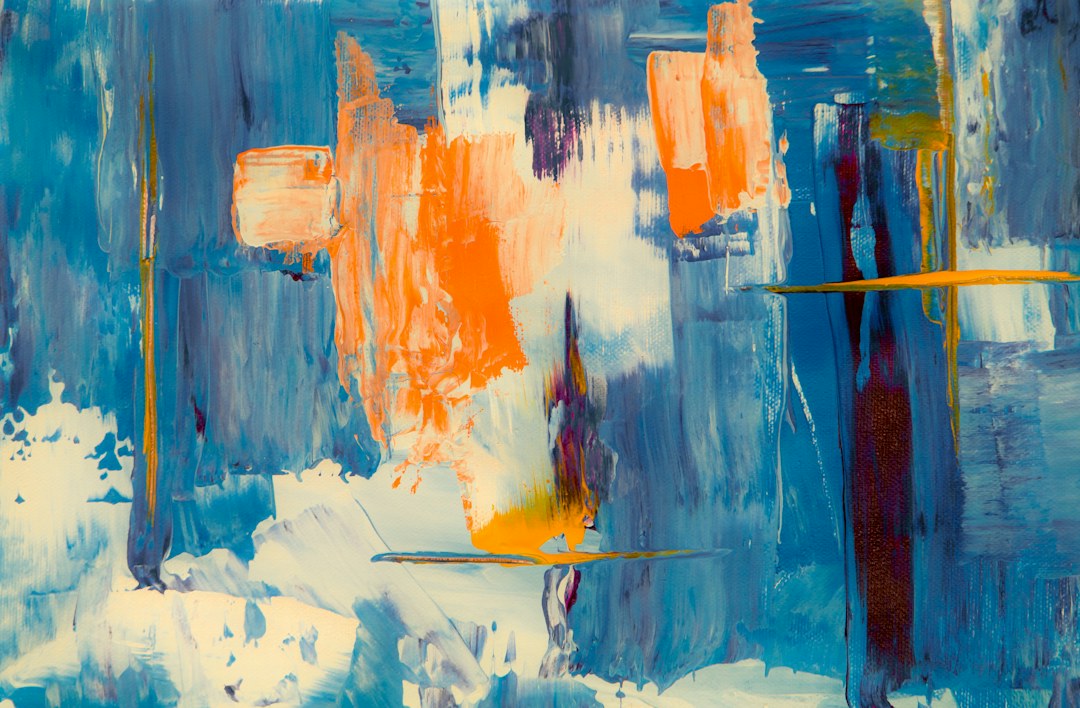
1. Paint a giant abstract canvas with three simple shapes
You’ll need: a primed canvas or canvas panel, water-based acrylic paints, a medium and broad brush, pencil, drop cloth and painter’s tape if you want hard edges. Choose two main colors plus the unpainted background; oatmeal, terracotta and soft charcoal create a calming effect, while cobalt and orange give you a bolder statement. How to make it: (1) Place the canvas flat on a protected surface and lightly sketch two or three oversized shapes. (2) Fill the biggest shape first using long overlapping strokes. (3) Paint the remaining shapes, leaving intentional negative space. (4) Let each layer dry according to the paint manufacturer’s instructions before making corrections. Stand across the room regularly: at this scale, overall balance matters more than perfect tiny edges. Beginner shortcut: make the shapes irregular so they feel organic rather than precise. Avoid: using a thick wall-paint layer on a flexible canvas without confirming compatibility; heavy coatings can crack or add unwanted weight.
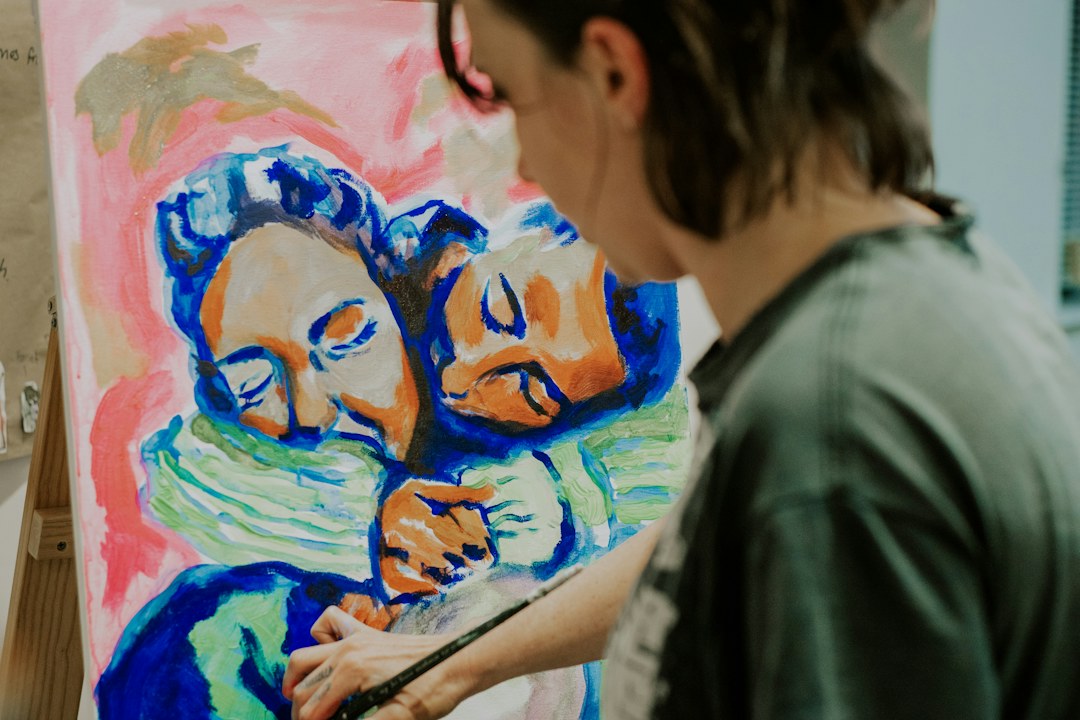
2. Give plain art subtle texture using acrylic modeling paste
You’ll need: a suitable rigid art panel or prepared canvas, acrylic modeling paste compatible with that surface, a plastic palette knife, acrylic paint and protective covering for your work area. If you want strong raised ridges, a firm panel is often easier to support than a loose canvas. How to make it: (1) Make a small test patch on a scrap of the same material. (2) Spread a thin, modest layer of paste and move the knife into sweeping arcs or parallel lines. (3) Allow full curing as directed by the manufacturer; drying can take longer in thick areas. (4) Apply a light paint wash or leave the finish neutral if the product permits. Why it works: sidelight catches the shadows, so the art becomes interesting without needing many colors. Avoid: loading a lightweight panel with heavy building plaster or applying thick joint compound to flexible canvas; different products can crack, flake or exceed the hanging hardware’s capacity.
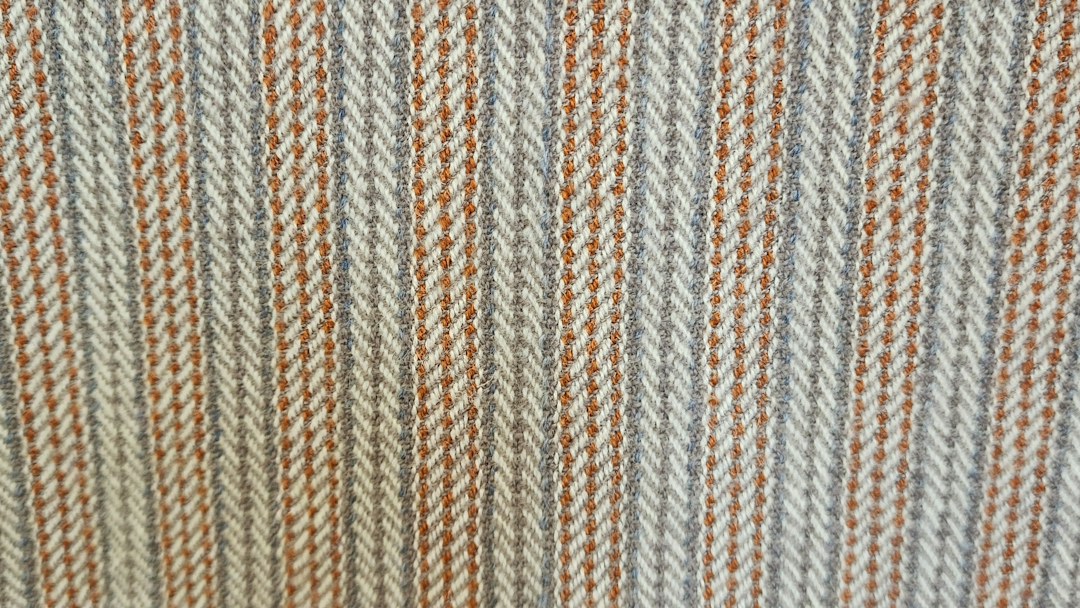
3. Stretch beautiful fabric around a lightweight backing
You’ll need: sturdy but lightweight rigid backing, prewashed or preshrunk fabric that is large enough to fold over each edge, scissors and a fastening method suitable for the backing and cloth. A staple gun may be appropriate for a wooden stretcher frame; for another backing, use fabric-safe adhesive according to its directions. How to make it: (1) Lay the fabric face down on a clean surface. (2) Center the board or frame and check that the print is aligned. (3) Secure one side, then the opposite side with gentle, even tension. (4) Fold and fasten the remaining sides, keeping the corners tidy. (5) Add compatible hangers and measure the completed weight. Design tip: a striped linen-look fabric or muted botanical pattern works beautifully above a neutral sofa. Renter note: attach the finished work only with mounting appropriate to its actual weight and wall. Avoid: fabric that is too sheer to hide the backing or adhesives that bleed through.
4. Draw oversized line art from your own simple sketch
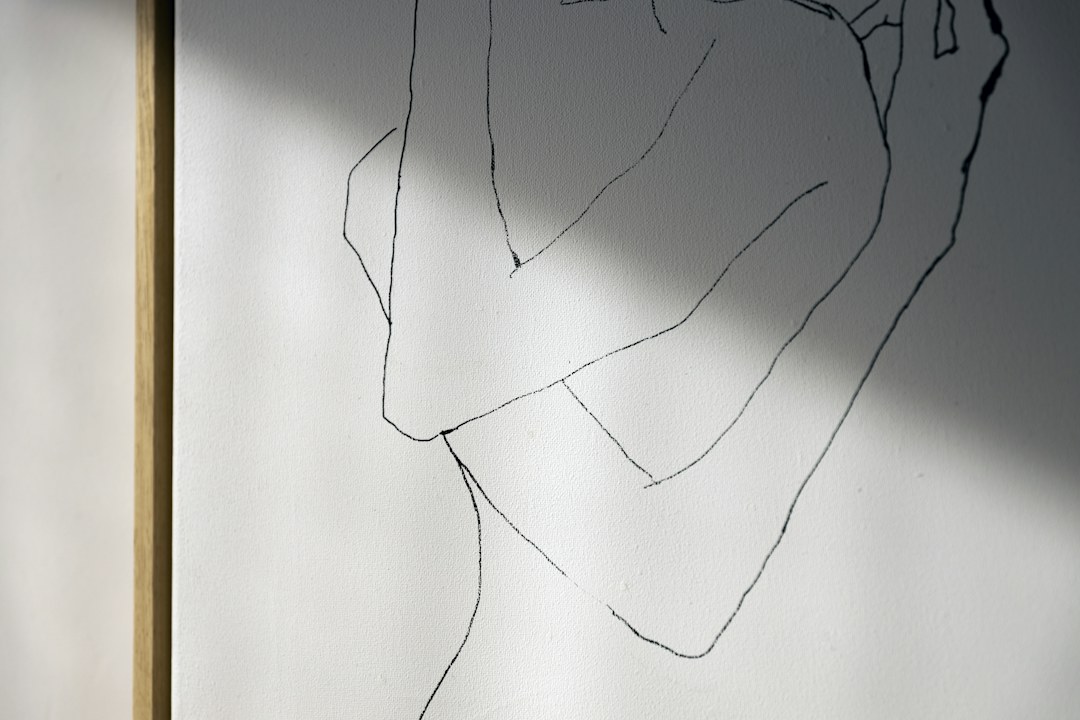
You’ll need: heavy drawing paper, a broad paint marker or brush and acrylic ink, pencil, eraser and a flat surface. A smooth abstract face, leaf silhouette or looping gesture works well; use your own drawing rather than tracing a living artist’s protected composition. How to make it: (1) Sketch three miniature versions on scrap paper to find the simplest line. (2) Choose the best and transfer its main points to large paper with a light pencil grid. (3) Connect the points with sweeping marks, varying line thickness once or twice for movement. (4) Allow the ink to dry thoroughly before framing or rolling. Design tip: leave a generous margin; a giant drawing can feel more polished with space around its edges. Avoid: using a wet marker with a glossy or coated paper it wasn’t designed for, and don’t tape unprotected original artwork directly to painted walls.
5. Split one continuous design across a two-panel diptych
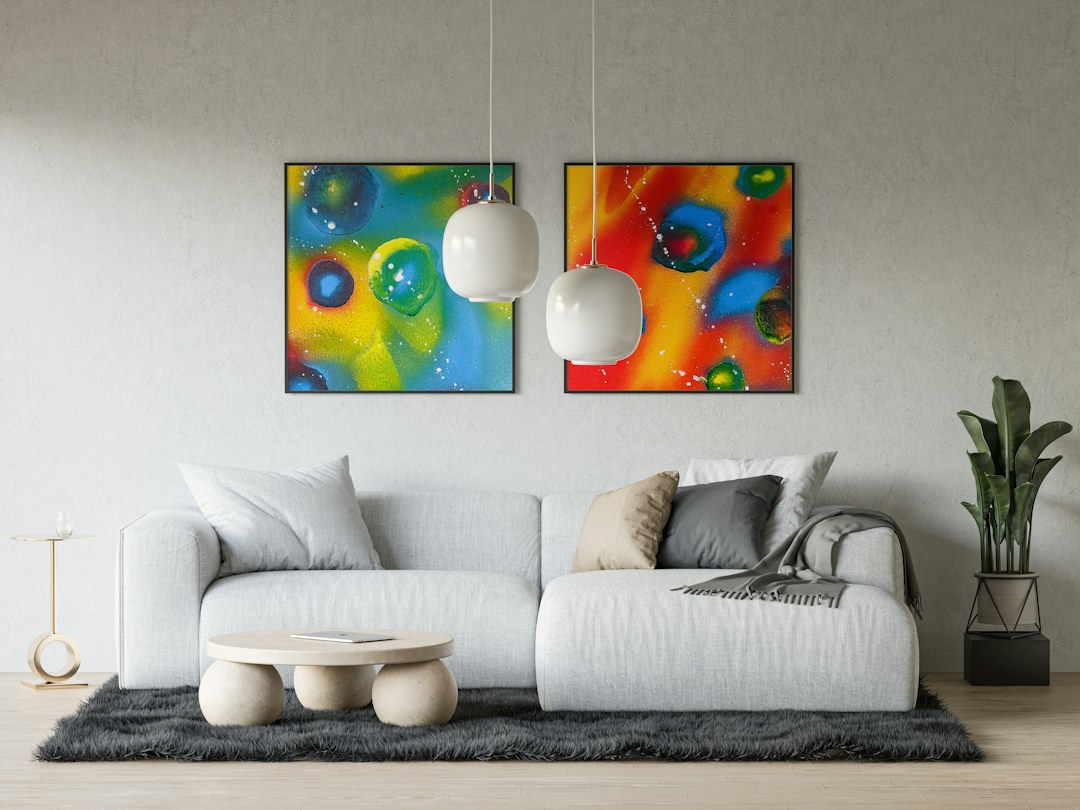
You’ll need: two identically sized canvases or panels, pencil, acrylic paints, a level and appropriate hanging hardware. This technique offers a large visual footprint without one difficult-to-transport canvas. How to make it: (1) Arrange the panels side by side on a protected floor, leaving an imagined narrow gap. (2) Draw one sweeping stripe, arch or landscape-like band that moves from the first panel into the second. (3) Paint the design, paying attention to the colors at the connecting edges. (4) Let both pieces dry fully, then hang them level with the same space between them from top to bottom. Beginner shortcut: use one bold curve crossing both canvases instead of a complicated picture. Where it works: above a sofa, long console or bed where a single square artwork would feel undersized. For sofa arrangements, our living room layout guide helps you plan the furniture wall before hanging.
5 More Budget-Friendly Statement Art Ideas
If you would rather print, arrange paper or work with textiles than paint a canvas, these alternatives offer plenty of scale without requiring advanced drawing skills.
6. Print an original photo or legally reusable illustration at poster size
You’ll need: your own high-resolution photograph or artwork you have permission to reproduce, a print service or suitable large printer, heavyweight matte paper and a frame or simple poster rails. How to make it: (1) Choose a photo you took or a properly licensed image and inspect the resolution at the final print dimensions. (2) Crop it to suit the wall’s orientation while keeping the important subject away from the edges. (3) Request a small color proof if the service offers one; screens and prints rarely look identical. (4) Print on appropriate paper and place it in a fitted frame or rails compatible with its weight. The Library of Congress Free to Use and Reuse collections offer historical imagery to explore, but verify the rights information on the specific item before reproducing it. Budget option: print a personal landscape photograph in black and white. Avoid: downloading a random Pinterest image or enlarging a tiny file until it looks blurry.
7. Create a modern botanical panel with pressed leaves
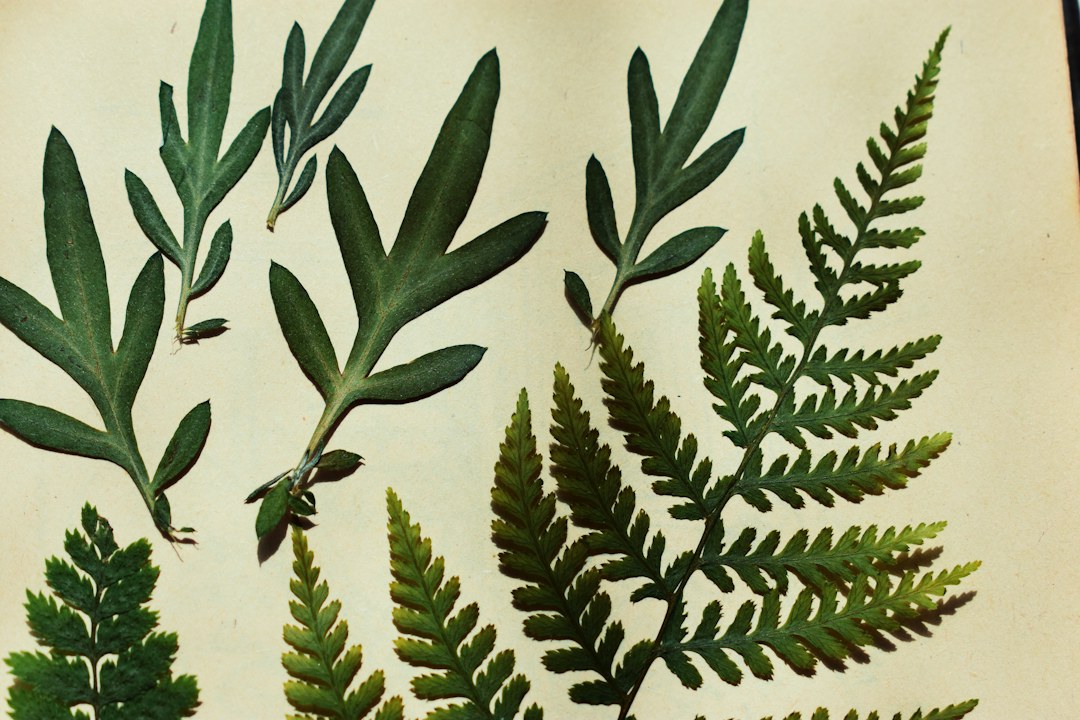
You’ll need: leaves or flowers collected legally from a suitable source, absorbent paper, a heavy book or pressing kit, archival-quality backing and a fitted frame. How to make it: (1) Select clean, thin plant material that is safe to handle, and avoid protected species or plants you can’t identify. (2) Press it between absorbent sheets until thoroughly dry, replacing the paper as needed. (3) Experiment with one large stem or three leaves on a contrasting background before attaching anything. (4) Use an appropriate archival or paper-safe method to keep the pieces flat, or photograph your arrangement and print the image for easier long-term care. (5) Frame behind suitable glazing where practical and keep it away from strong sunlight or moisture. Design tip: a single fern with a generous cream border can feel remarkably dramatic at a large scale. Avoid: framing damp botanicals, which may discolor or develop mold, and don’t use toxic plant materials around children or pets.
8. Make oversized abstract collage art from leftover papers
You’ll need: a rigid lightweight backing board, scraps of colored or neutral papers, pencil, scissors, a paper-compatible adhesive and a soft applicator. Start with offcuts from other craft projects, wrapping paper, maps you own or paper you have the rights to use. How to make it: (1) Cut or tear five to eight substantial shapes, keeping some edges organic and some straight. (2) Move the shapes around the dry backing until one area feels more visually important than the rest. (3) Photograph the arrangement before gluing, in case you want to rebuild it. (4) Apply adhesive in the manner specified for the materials and smooth the paper gently to reduce bubbles. (5) Let it cure flat before framing. Design tip: limit the palette to two colors and natural paper tones so the large composition feels intentional. Avoid: pasting magazine artwork without regard to copyright or using so much wet glue that lightweight paper buckles.
9. Build a simple wood-strip relief on a properly supported panel
You’ll need: lightweight wood strips or suitable narrow molding, a rigid backing panel, measuring tape, pencil, a compatible wood adhesive and appropriate clamps or fasteners. A simple pattern of evenly spaced vertical slats, or a handful of diagonal lines, looks striking above a console. How to make it: (1) Sketch the arrangement on paper and calculate the gaps before cutting. (2) Use pre-cut pieces from a supplier where possible; if cutting is necessary, follow the tool’s safety instructions and use suitable protection. (3) Dry-fit every strip on the panel. (4) Attach them using a method that is compatible with the materials, allow proper curing and sand rough edges only if safe to do so. (5) Finish as appropriate and use hardware rated for the complete panel weight. Budget option: paint lines in two wood-inspired tones on a flat panel instead of constructing a heavy relief. Avoid: unreinforced, heavy boards or adhesive-only wall mounting that cannot bear the finished piece.
10. Paint a relaxed fabric banner for a large empty wall
You’ll need: medium- or heavyweight cotton fabric, paint formulated for textiles or a compatible fabric medium, a wide brush or sponge, a suitable wooden dowel and cord or rod hardware. How to make it: (1) Wash and dry the fabric as appropriate for the material before painting. (2) Hem or finish the edges and prepare a pocket for the hanging rod. (3) Lay the fabric flat over a protective layer and paint a bold arch, broad stripe or personal abstract motif. (4) Let it cure and heat-set only if the specific product requires and permits it, following the instructions exactly. (5) Hang the finished banner from suitable hardware and check the balance. Why it works: a soft banner can take up generous wall space while being easier to move than a framed glass picture. Budget option: use clean plain fabric already in your home. Avoid: hanging loose fabric near candles, heaters, cooking appliances or other heat sources.
How to Hang Oversized Art Safely
First weigh the finished piece. A huge canvas may be relatively lightweight, while the same dimensions in wood, glass or heavy texture can weigh much more. Don’t estimate weight from the photo. Check whether the backing, frame, stretcher and hardware can carry the load, and whether the wall is drywall, masonry or another material. The wall attachment and the artwork’s attachment points are separate parts of the system: both need an appropriate rating.
Then choose the right supports. Use appropriately rated picture hangers, anchors or fixings for the actual wall and the measured load. For wide art, two secure attachment points may help keep it level when the mounting system is designed for that arrangement. Locate framing or studs when necessary, avoid concealed wiring and pipes, and follow the manufacturer’s installation guidance. If the piece is particularly large, heavy or positioned above a bed, consider professional installation.
Finally, place it for the room. Use a paper template and level, leave practical clearance above furniture, and make sure the art does not interfere with opening a door, passage through the room or the use of nearby fixtures. Never assume a removable adhesive hook can support a large artwork just because the piece looks light. Our room measurement checklist can help you plan the surrounding furniture proportions before drilling.
How to Keep DIY Oversized Art Affordable
The first savings decision is choosing a design that suits materials you already have. If you own a large canvas, paint may be the simplest route. If you have beautiful leftover fabric, a textile panel is often a better use of the budget. If printing is easy locally, your own photograph can become a large focal point. Don’t buy specialist texturing tools for one small project unless you expect to reuse them.
Budget-first order: measure and mock up the wall for free; look for reusable materials; choose one method and calculate its entire finishing cost; only then purchase the missing supplies. Include frame or hanging hardware in that calculation, since a cheap artwork that needs a costly custom frame may not be the most economical option. Compare the same dimensions across alternatives rather than assuming “DIY” always means cheapest.
For a renter-friendly approach, consider making one or two lightweight pieces that can travel to another home, rather than installing permanent wall panels. Our first apartment decorating budget ideas include ways to make design decisions before overspending.
Common Mistakes to Avoid on Your First Large Art Project
Skipping the wall template: a canvas that seems huge on the table can feel surprisingly small above a long sofa. Overcomplicating the design: one strong motif is easier to read from across the room than dozens of tiny details. Rushing drying or curing: materials may crack, warp or transfer color if handled too soon. Not checking print quality: an enlarged low-resolution image can appear pixelated. Ignoring the weight of the final frame: framing can substantially change the hardware requirements. Copying someone else’s artwork: use original drawings, licensed material or appropriately documented public-domain sources instead.
DIY Oversized Art FAQ
What is the easiest way to make DIY oversized wall art?
A primed canvas and two or three acrylic colors is a friendly place to start. Sketch one or two large shapes, fill them using a broad brush and let the paint dry before deciding whether to add more detail. A fabric-wrapped panel is another straightforward option for people who don’t enjoy painting.
How big should oversized art be above a couch?
A starting point is roughly two-thirds to three-quarters of the sofa’s width, but proportion depends on the room, other furnishings and how the work is framed. Make a full-size paper template before ordering materials. Mounting safety and comfortable clearance should override any styling formula.
Can I make oversized wall art without a canvas?
Yes. You can use a fabric-wrapped lightweight panel, a large licensed print, a carefully framed paper collage or a textile banner. Each method has different rigidity and weight requirements, so choose the appropriate support and hanging method.
How do I stop textured DIY wall art from cracking?
Use paste or texture products specified for the chosen art surface, keep applications within the manufacturer’s recommended thickness and allow sufficient drying or curing. Large heavy plaster layers on flexible canvas can crack or add too much weight; test the combination on a small sample first.
What colors make homemade large art look intentional?
Two main colors plus one background shade is a useful beginner approach. Take tones from the sofa, rug or curtains, then add a little contrast if the room needs energy. Bold colors can work beautifully, but avoid matching every object in the room exactly.
What can renters use to hang oversized artwork?
It depends on the artwork’s full weight, the wall material, the rental agreement and the verified capacity of the hanging system. Some light pieces may suit approved removable systems, but large or heavy art often needs more robust mounting. Confirm permissions and instructions rather than guessing.
Should I frame large DIY artwork?
Framing is optional. A finished stretched canvas can look attractive without an outer frame, while works on paper and pressed botanicals usually benefit from suitable protection. Consider the expense and extra weight of framing before you select the project size.
Make One Big Piece, Not Ten Small Compromises
The most satisfying DIY oversized art projects begin with the wall, not the shopping cart. Measure your space, choose a simple method, use materials safely and give the artwork room to stand on its own. From a broad abstract canvas to framed fabric or a two-panel painting, a personal handmade piece can make a stronger impression than a collection of hurried purchases. For more projects and inspiration, browse DIY Wall Decor, our renter-friendly wall decorating ideas, and our minimalist living room guide.